Guides
Step-by-Step Guide to Installing and Activating Microsoft Project
This step-by-step guide will walk you through the process of installing and activating Microsoft Project, ensuring that you can access all of its powerful project management features with ease. Whether you’re setting up a new product key or reactivating an existing license, we’ll guide you through every stage from downloading the software to entering your activation key. By following these simple and clear instructions, you’ll quickly set up Microsoft Project on your device and be ready to manage your projects efficiently.
Redeem Your Microsoft Project Product
- Visit setup.office.com and click ‘Get Started.’
- Sign in with your Microsoft account.
- Redeem your product key.
- Download the Project software.
Note: For a simpler installation, you can directly download the Project Professional ISO file using the link below.

Setup Instructions for setup.office.com
- After clicking “Get Started”, sign in with your Microsoft account.
- Enter your Project product key and click “Next.”
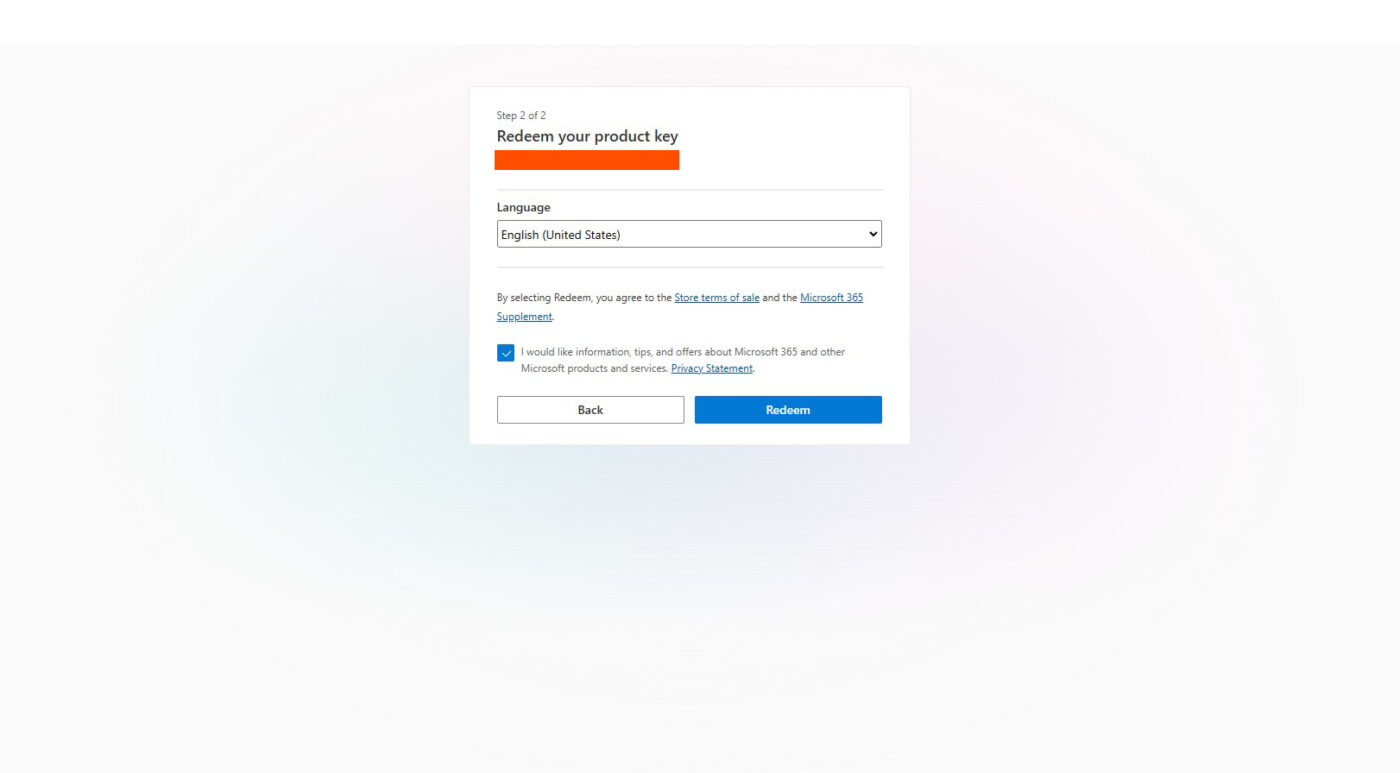
- Select your preferred language and click “Redeem.”
- The download will start automatically. Once it’s finished, open the setup file to begin the installation process.
Follow the on-screen instructions to complete the installation and start using Microsoft Project.
Activating Microsoft Project
Once the installation is complete, follow these simple steps to activate Project:
- Open Project.
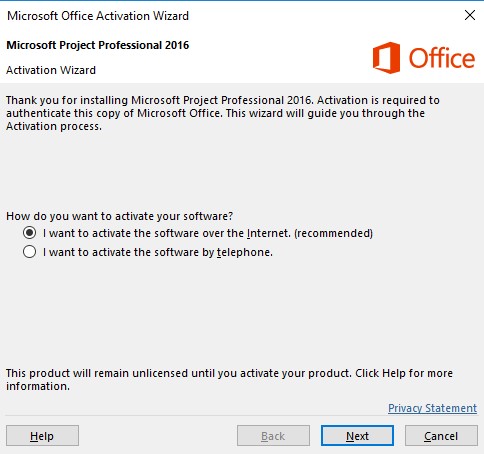
- The activation wizard will appear shortly.
- Select “I want to activate the software over the Internet” and click “Next.”
By following these steps, your Project software will be activated and ready for use.
Need Help?
If you experience any installation or activation issues, our support team is available 24/7. Get fast assistance via live chat at https://windowskeys.uk/ or email us at [email protected].