Guides
How to Install and Activate VMware Workstation Pro – Complete Guide
VMware Workstation Pro is a powerful virtualization tool that allows you to run multiple operating systems on a single machine. Whether you’re setting up a virtual lab, testing software, or managing multiple environments, installing and activating VMware Workstation Pro is essential. This guide walks you through the complete installation process, activation steps, and key settings to ensure smooth operation. Follow along to get your virtualization platform up and running in no time!
1. Download and Install VMware Workstation Pro
Head to the official Broadcom website and sign up for an account to access the VMware Workstation Pro download.
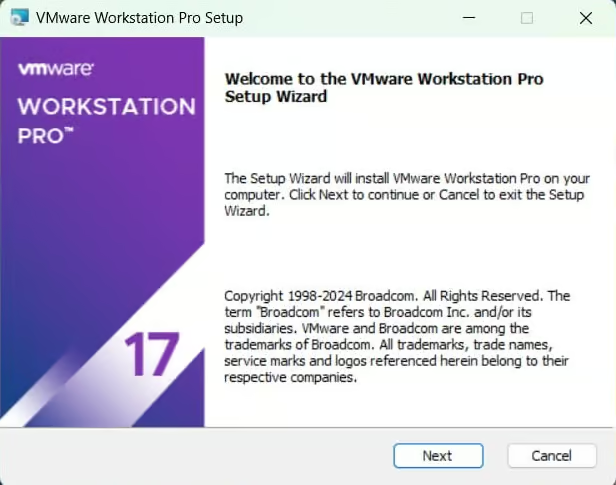
- Once the download is complete, launch the installer and follow the setup instructions.
- Accept the license agreement, choose the installation path, and proceed with the installation.
- After the installation finishes, restart your computer if required.
2. Activate VMware Workstation Pro
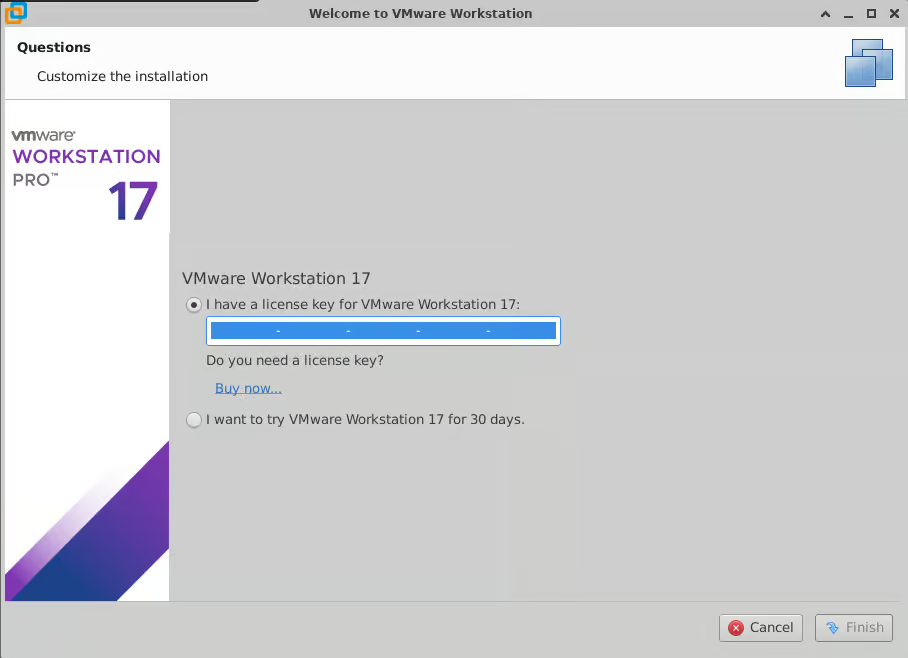
After successfully installing VMware Workstation Pro, launch the application.
- Navigate to Help > Enter License Key in the menu.
- Input your valid product key and confirm by clicking OK.
- The software will validate the key and activate your VMware Workstation Pro.
3. Confirm Activation
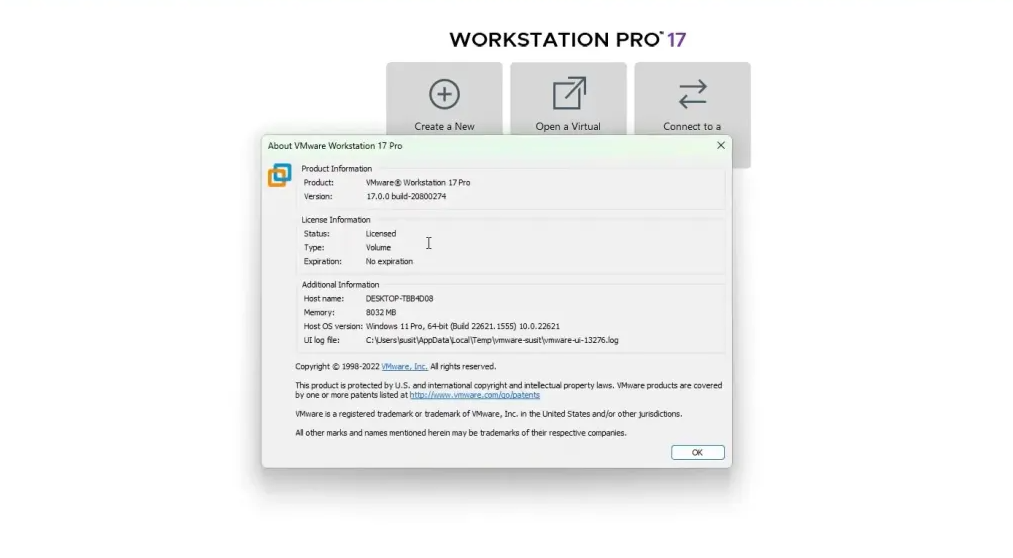
To ensure activation was successful, follow these steps:
- Restart VMware Workstation Pro and go to Help > About VMware Workstation.
- Verify that the license status displays as active.
- Now, you’re all set to create and manage virtual machines efficiently!
Need Help?
If you experience any installation or activation issues, our support team is available 24/7. Get fast assistance via live chat at https://windowskeys.uk/ or email us at [email protected].