Guides
Complete Guide to Installing and Activating Windows Server
Setting up Windows Server correctly is crucial for a secure and efficient IT environment. This guide provides step-by-step instructions to help you install and activate Windows Server seamlessly. Whether you’re upgrading, performing a fresh installation, or activating your license, follow these steps to ensure a smooth setup process.
1. Installing Windows Server
- Download the official Windows Server ISO from Microsoft’s website.
- Create a bootable USB drive using Rufus or mount the ISO in a virtual machine.
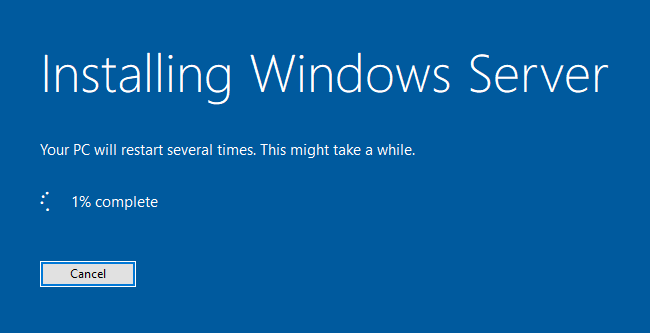
- Boot from the installation media and click “Install Now.”
- Select the Windows Server edition you wish to install.
- Follow the setup instructions, configure partitions, and complete the installation.
- Once finished, create an administrator account and log in.
2. Activating Windows Server
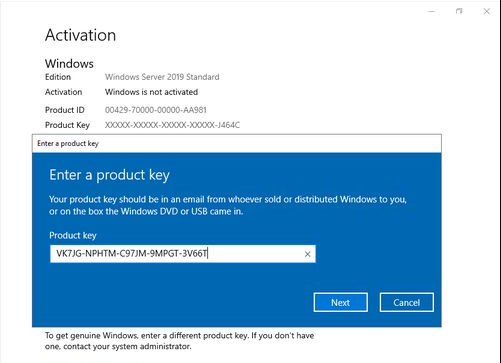
- After installation, open Settings > Update & Security > Activation.
- Click on Change product key, enter your 25-character Windows Server license key, and click Next.
- If your system is online, activation should happen automatically.
3. Activating via Command Prompt (If Necessary)
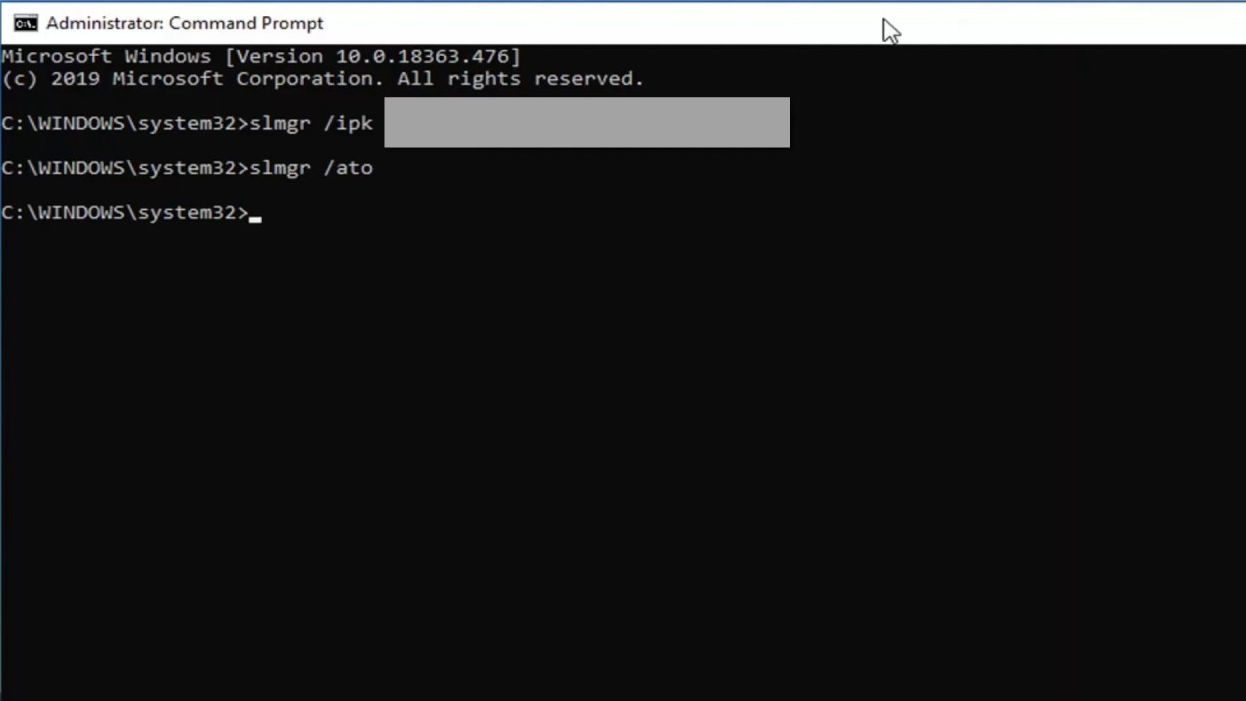
If standard activation fails, use Command Prompt:
- Open Command Prompt as Administrator.
- Run this command to install the product key: slmgr /ipk YOUR-PRODUCT-KEY
- Press Enter, then type the following command to activate: slmgr /ato
- Press Enter again. A confirmation message should appear once activation is successful.
Once these steps are completed, Windows Server will be fully installed and activated, ready for use.
Need Help?
If you experience any installation or activation issues, our support team is available 24/7. Get fast assistance via live chat at https://windowskeys.uk/ or email us at [email protected].